Blog
‘sup BRO – Kim Arnold (Video Tutorial)
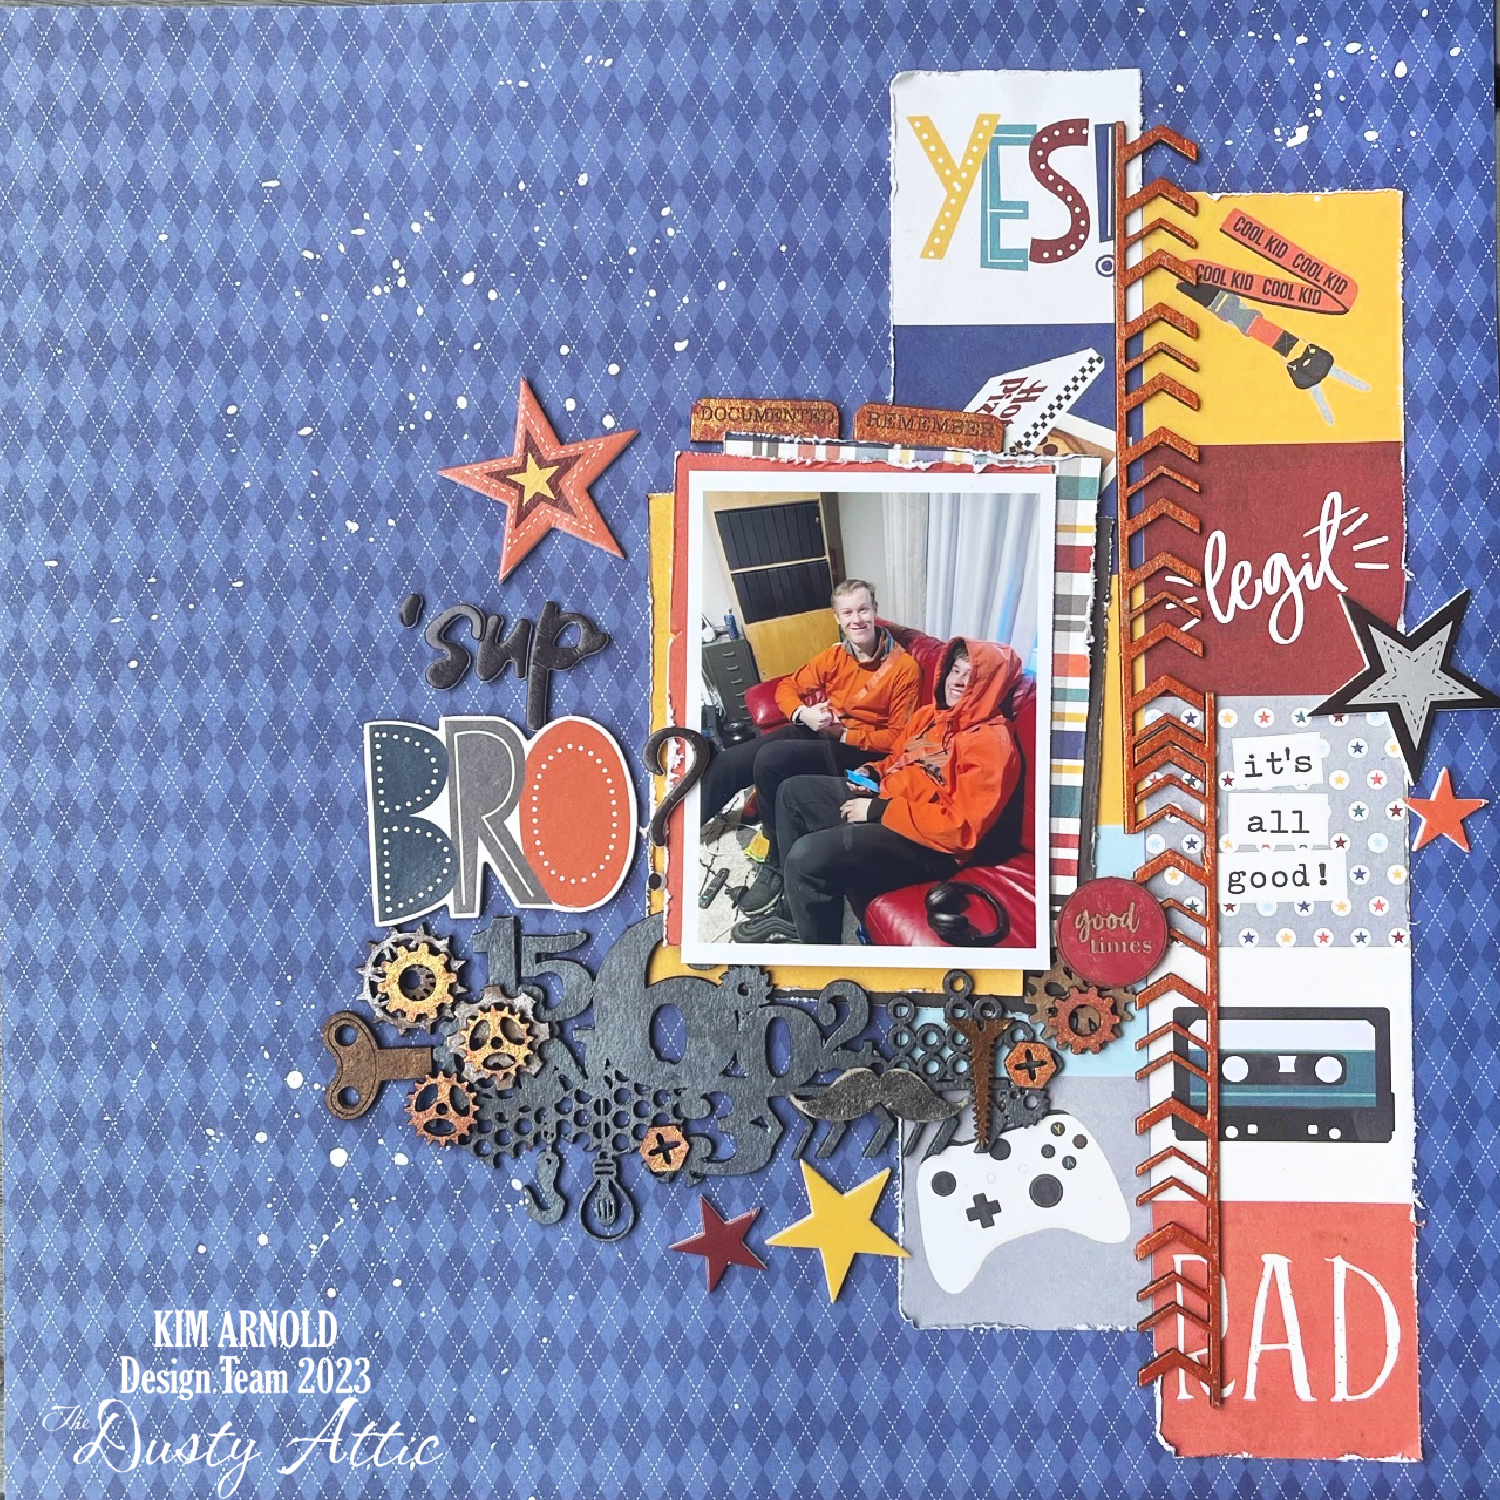
Hi everyone! I am delighted to be joining the Dusty Attic Design Team after my guest design spot last year. I am delighted to be able to share my first layout with you.

I have created a teenage boy layout using lots of scrummy Dusty Attic chipboard and I will take you through what I have used and what techniques I applied.

Starting with the Broken Chevrons small. I have painted them with a sparkly orange paint.

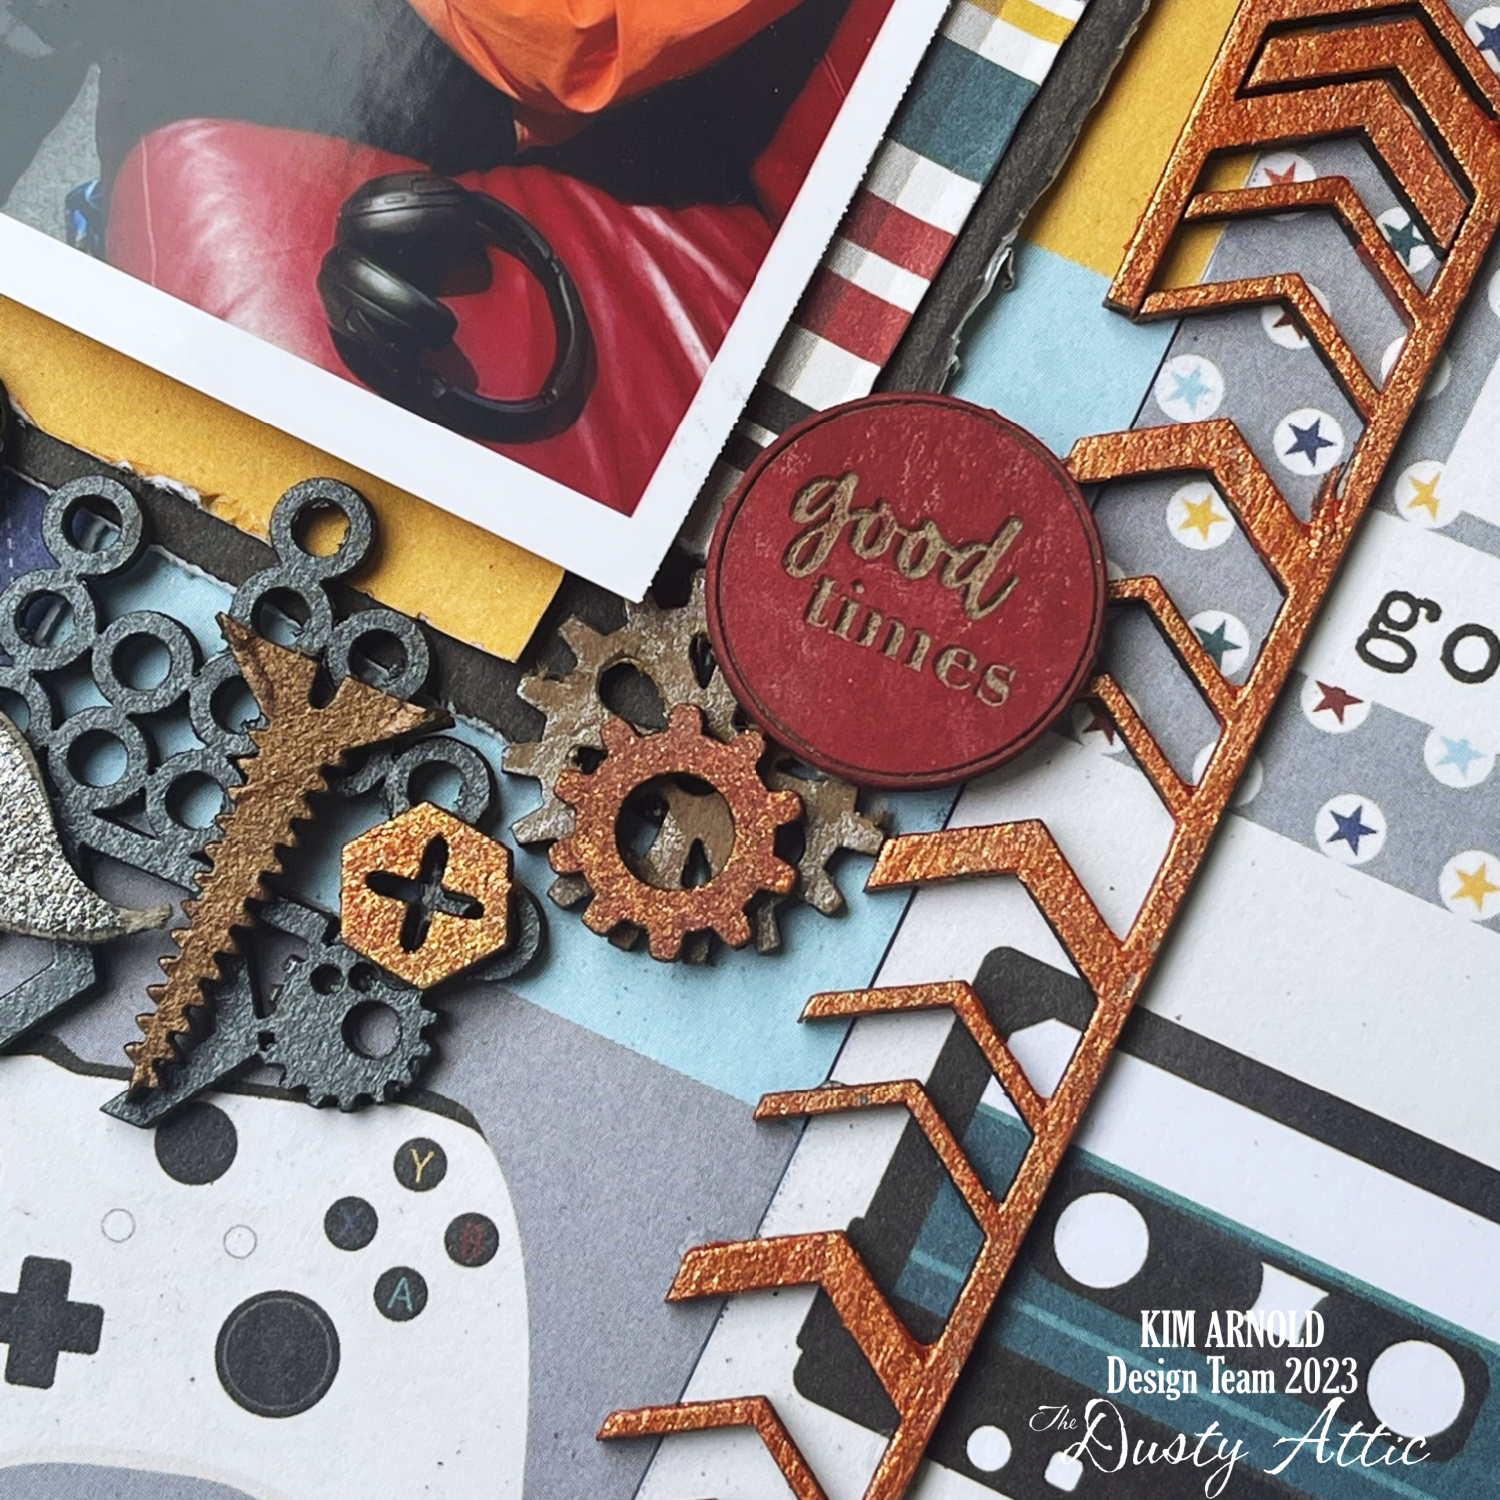
I love the various Industrial Clusters that are available and for this layout I used set #7.

I finished each of the elements in the cluster with different coloured paints and waxes, so that when the various pieces were layered-up I was not layering the same coloured pieces. For the mustache I also sanded the edges to give it a distressed finish.

I love to incorporate words into my layouts and the Word Strips #2 and Word Disks #3 are perfect for this and regularly appear in my layouts.


For the Word Strips I painted them using two different coloured paints (red and orange) – just make sure you only use a light coat of the paints so that the paint doesn’t fill the engraved words.

For the Word Disk, I simply painted it with a red paint – again making sure not to fill the engraved words.

If you want to see how this layout came together, I have a process video available on my YouTube channel – https://youtu.be/fG03G_jhSb8
I hope you have a chance to get some creative time in soon.
Dusty attic products:
Broken Chevrons small – Dusty Attic – Australian owned and operated Laser Cutting business
Industrial Cluster #7 – Dusty Attic – Australian owned and operated Laser Cutting business
Word Strips #2 – Dusty Attic – Australian owned and operated Laser Cutting business
Word Disks #3 – Dusty Attic – Australian owned and operated Laser Cutting business
I hope you have a chance to get some creative time in soon.
Happy scrapping
Kim x
