Blog
Happy Days – Belinda Spencer
Hello Dusty Attic fans.
It’s Belinda here with you today to share my latest layout for The Dusty Attic featuring some of the more newer chipboard pieces.
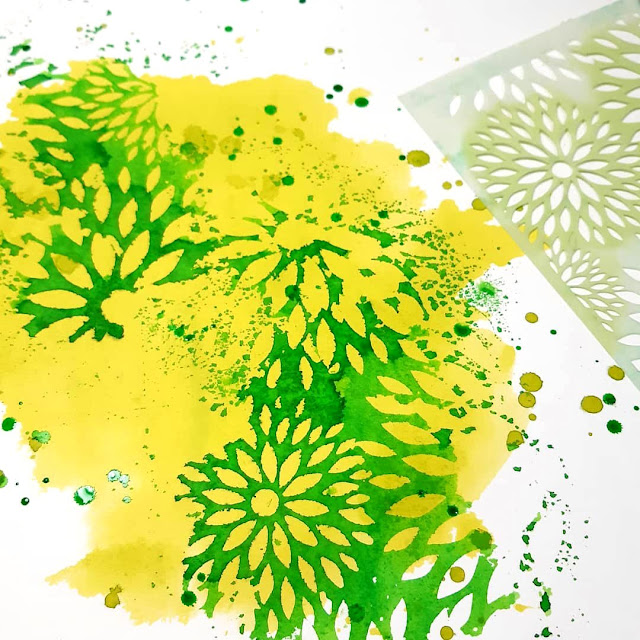
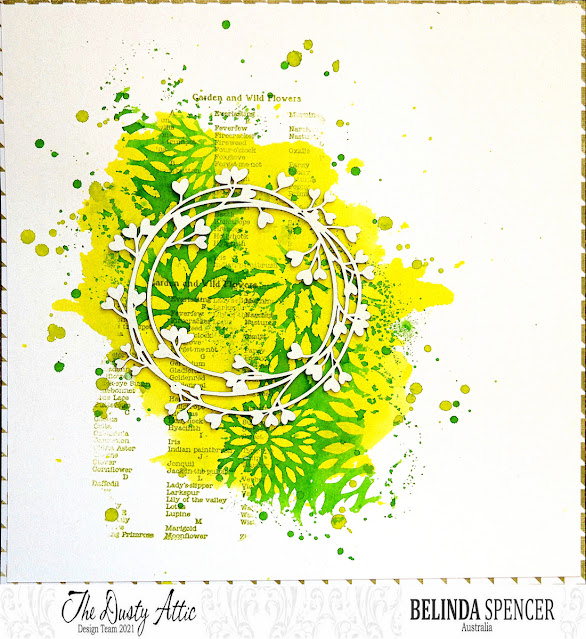
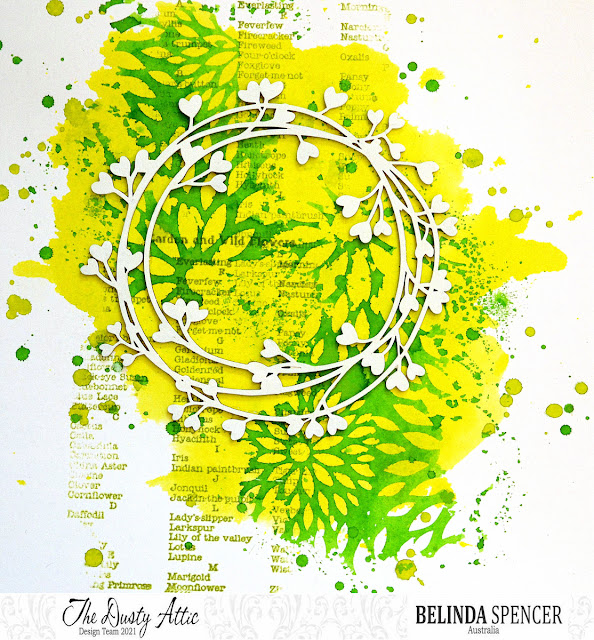
For this layout, I began by adding some colour ink to my heavy weight smooth white cardstock. I spritzed it with water and then placed some plastic packaging over the top to spread the colour out. I dried the page with a heat gun and then used a stamping with a stencil technique to add the pattern. I spritzed some green Dylusions Spray Ink onto the plastic packaging, swiped my stencil through it and then stamped the stencil onto the layout. I dried the page again and added some stamping using a garden inspired background stamp.
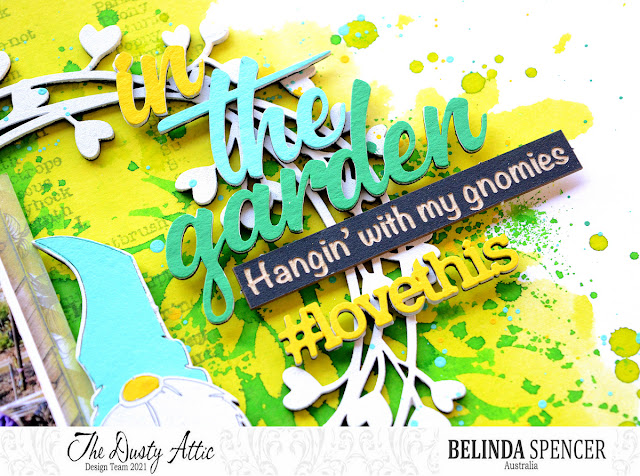
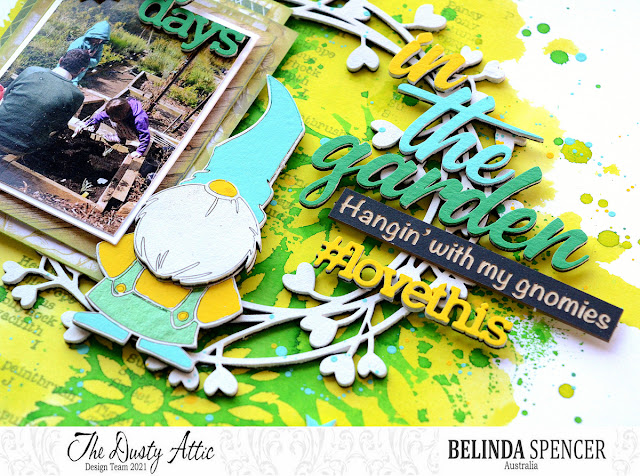
I painted all of my chipboard pieces with heavy white gesso and added the gorgeous Botanical Ringlet to the page.
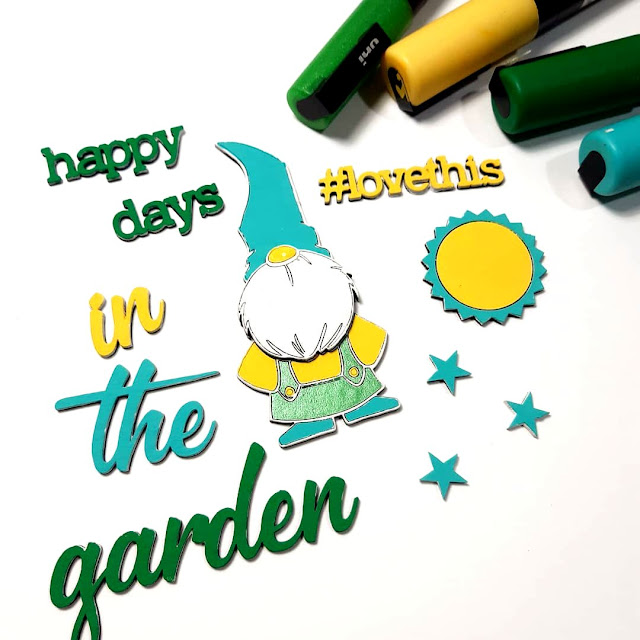
I coloured the rest of the chipboard pieces using Posca Paint Pens. I love these pens so much for mess free altering of chipboard not to mention for art journalling. Who’s got time for cleaning brushes?!! I would rather be making more art than cleaning up!!
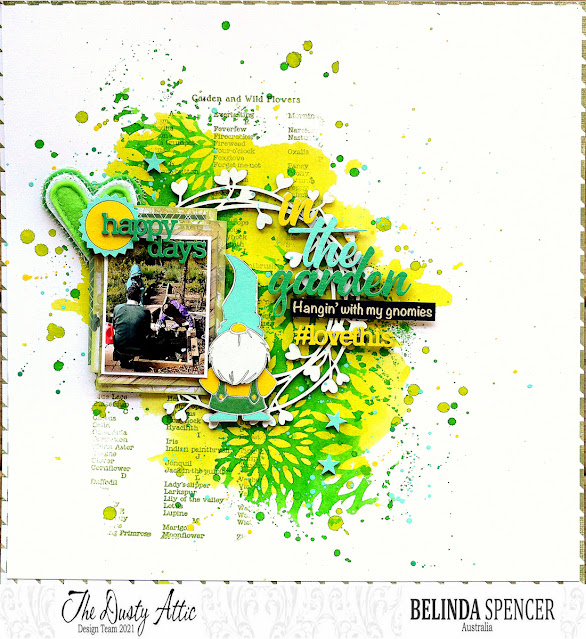
And here is my completed layout:


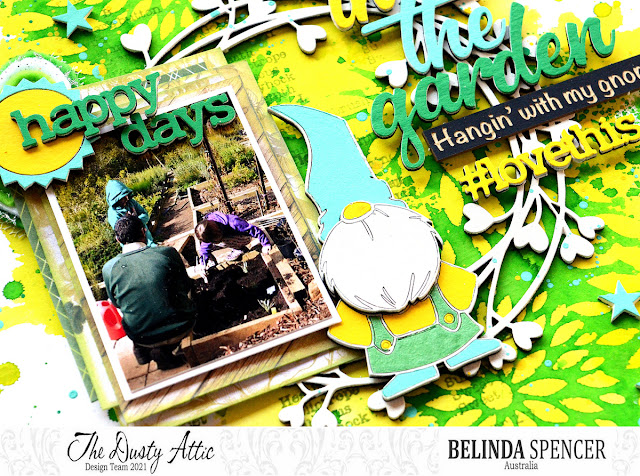
The Dusty Attic products used:

DA2970 Card Sentiments # 3 – Gnome (black)DA2966 GnomesDA2946 Tabs & StarburstsDA2937 Daily #DA2935 Daily WordsDA2923 Botanical Ringlets # 3DA2909 Green ThumbDA1323 Flower Burst Stencil

Thanks so much for stopping by the blog today. I hope you feel inspired to have a play with your Dusty Attic chipboard too.
CheersBelinda