Blog
Forever – Gabrielle with a Video Tutorial
Hello friends! I’m so happy to be sharing with you today a page which was my ‘attempt’ at doing a ‘white space’ page. I often admire the look of the layouts that utilize only a small portion of a page but do it in such a way that the eye is drawn right in to the photo. I, being an over embellisher find that my attempts at this style does not always come out as I had envisioned! In this case I think I came closer to what I was envsioning so I guess I should be happy with that. (maybe next time I’ll start with a smaller photo?)

Here are the lovely Dusty Attic chipboard designs I incorporated into my page. Some you may not recognize because I chopped it up a bit and used small pieces of it (Vine Corner).
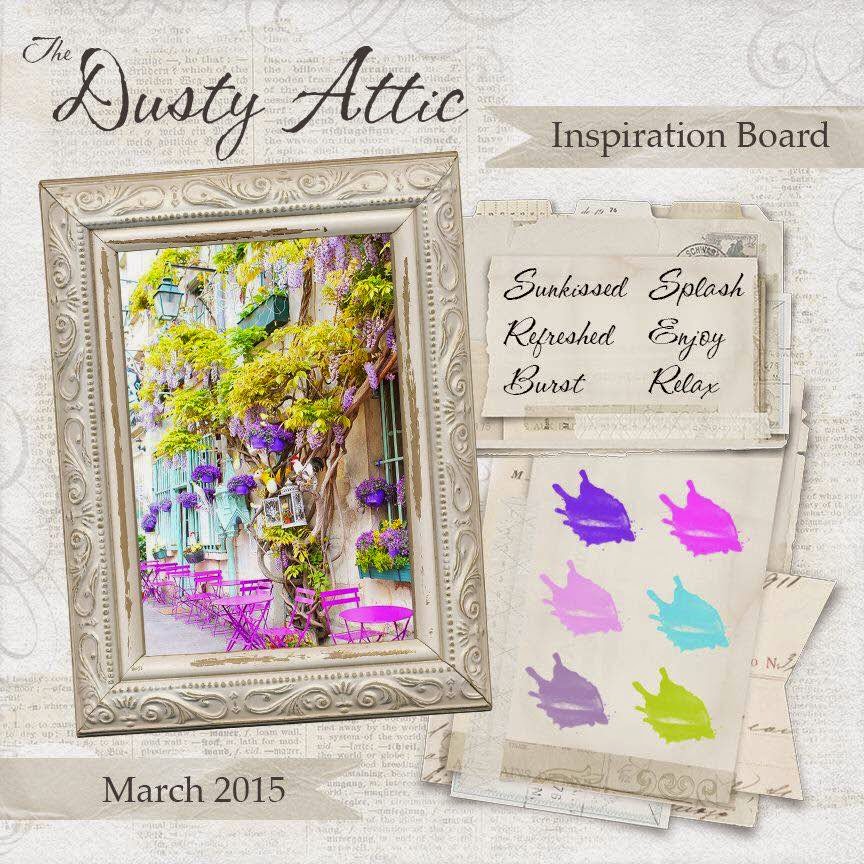
I designed this page using the Dusty Attic’s March Inspiration Board as a jumping off point. Every month Dusty Attic has a great challenge (with prize!) going on centered around their Inspiration board. Just create a page using Dusty Attic chipboard utilizing the colors and moods set on the inspiration board for the month and add your link to the top right hand side bar .
These are the Shimmerz products I used to create this page, using the Dusty Attic Moodboard as my color inspiration. Here is a full step by step video tutorial I created on how I made up this page. Enjoy!
I hope you enjoyed watching my video tutorial! I’ve got some close-ups of the page for you to view at your leisure below….
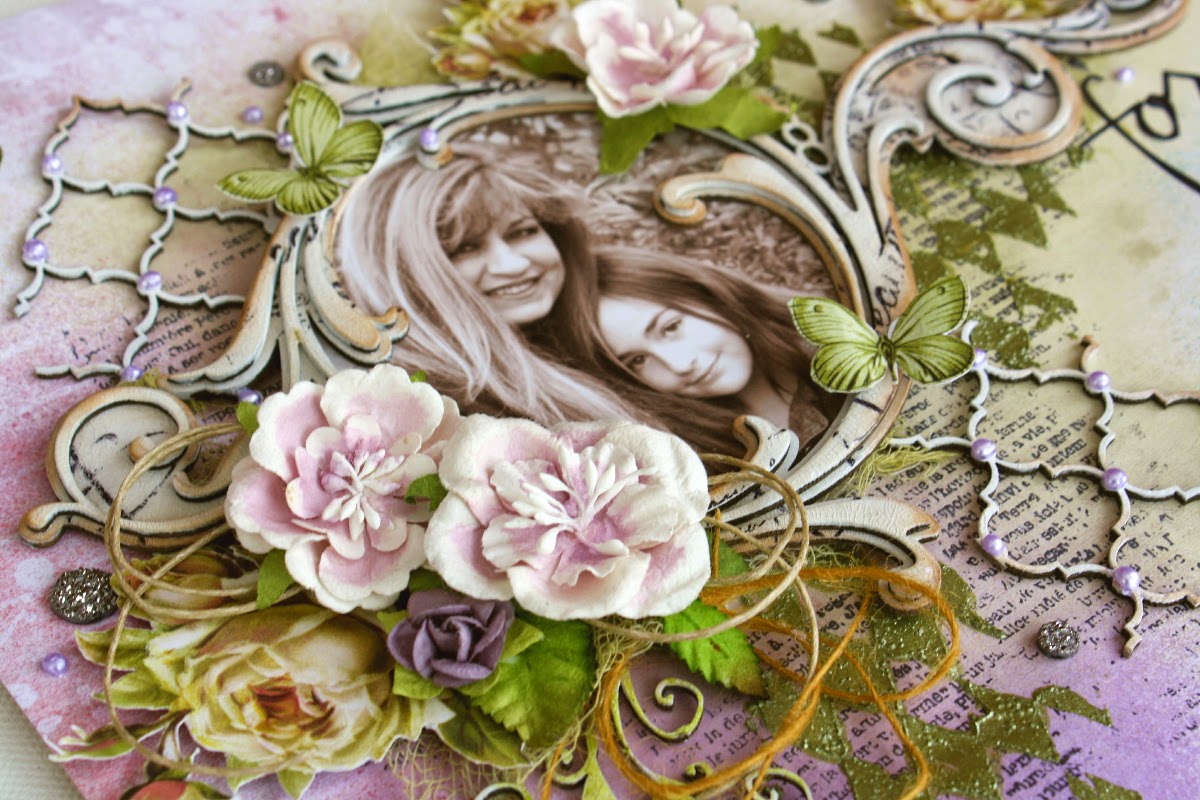
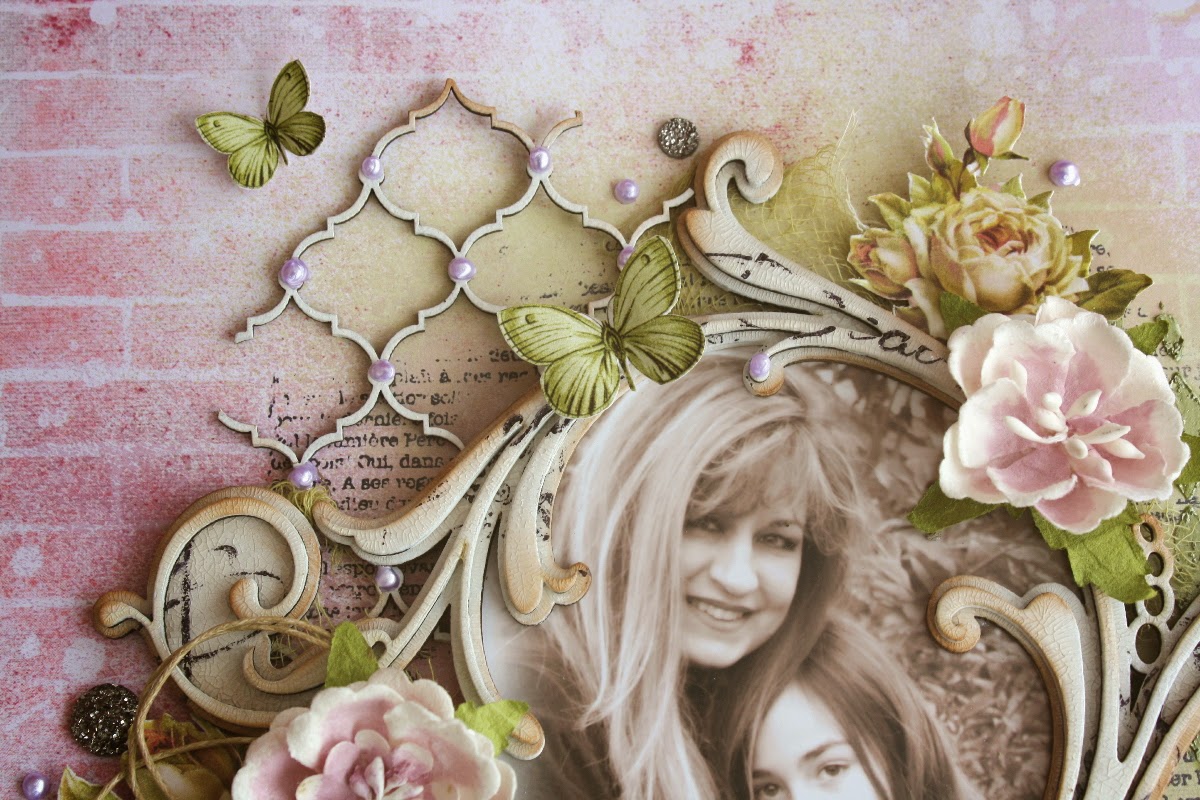
I used some of the Punked Up Purple Spritz to add a soft hint of color to my Rodanthe Blossoms from Prima. I always love a nice white blossom that you can change up to match your page with just a few dollops of color! I’ve got to say, that Dusty Attic frame (Decorative Scroll #1) has to still be one of my all time favorite Dusty Attic pieces!
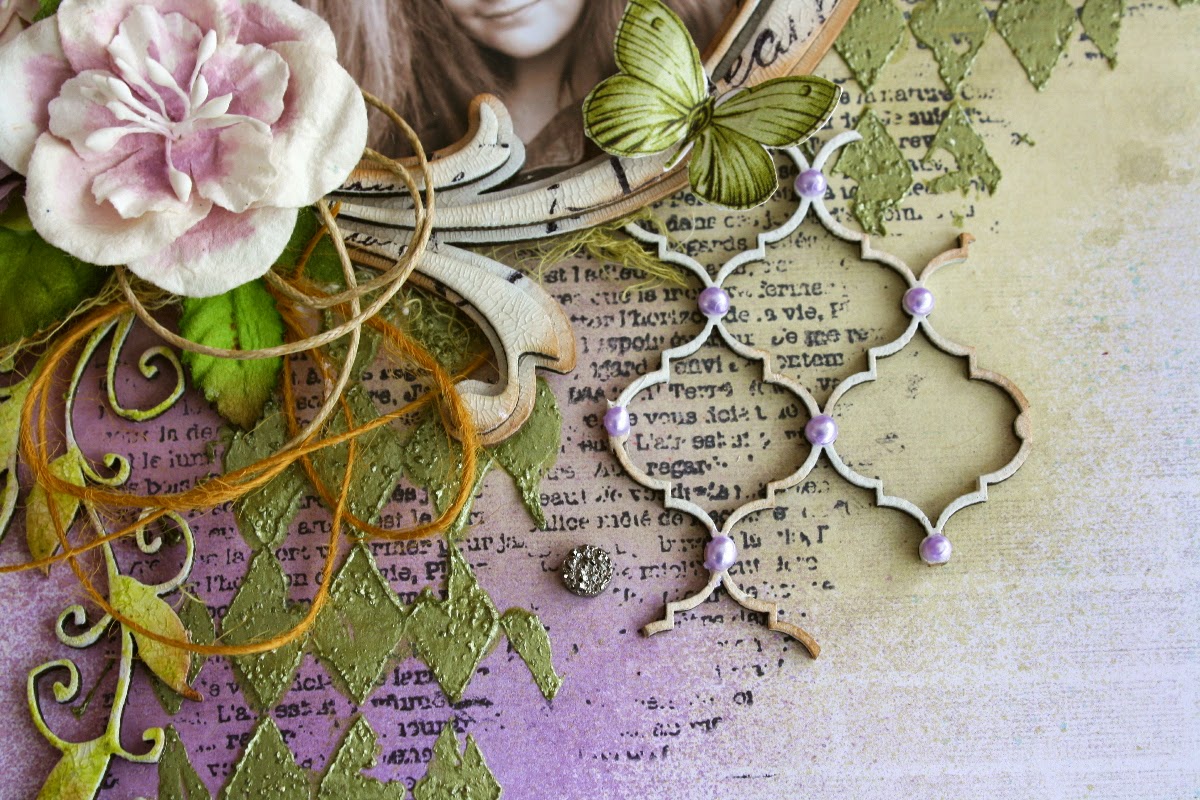
Another design technique I really like to use in my work is laying down a couple of layers of color with my Shimmers mists and then stamping on top of it. In this case I used a well used stamp I have from Bo Bunny called ‘It Is Written’. The pretty Moroccan looking chipboard is a piece from Dusty Attic called Marrakesh Trellis panel…..and the circle frame is an old favorite of mine called Decorative Scroll #1.
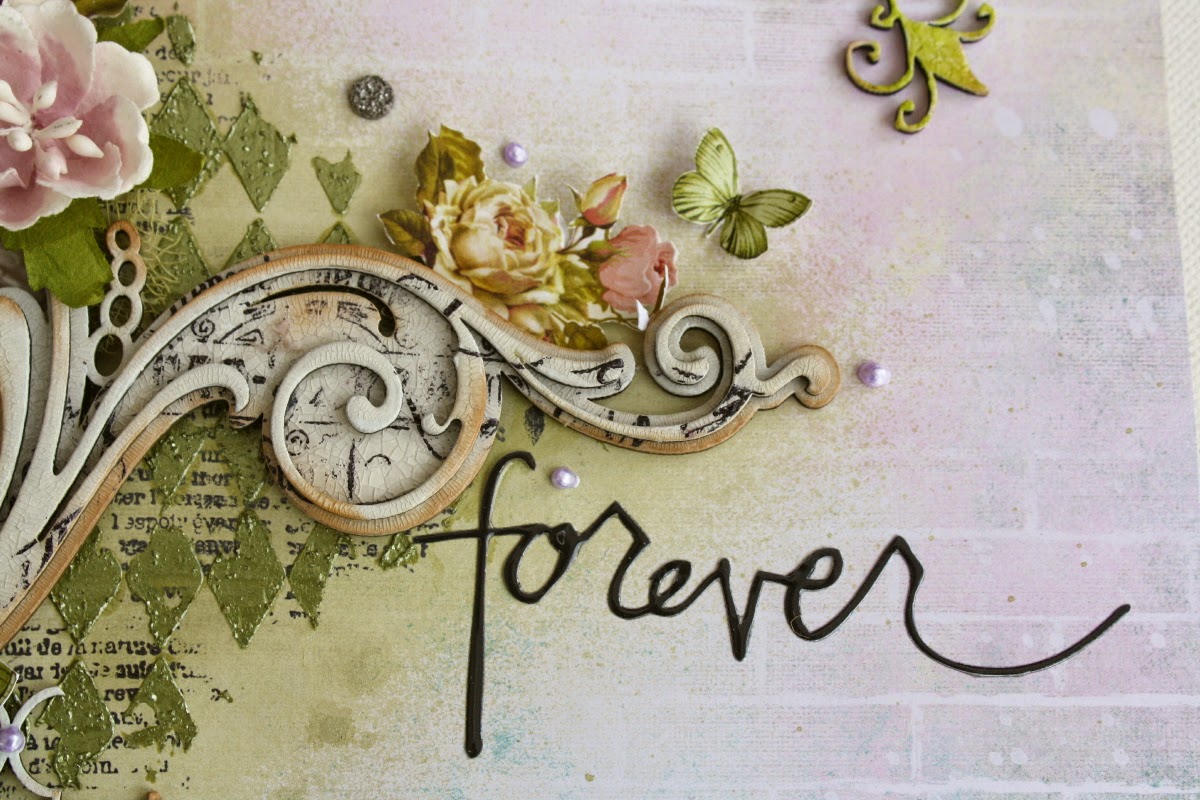
I did a little bit of fussy cutting from a labels paper I had from the House of Roses paper from LemonCraft. The title sticker is a Heidi Swapp epoxy sticker.
To achieve a shabby chic look, I like to first paint my chipboard pieces white, then do some random stamping in black using an archival ink (so it doesn’t run when you hit it with other mediums). I used my Paris/Beauty stamp for this. Then I rub a little brown chalk ink along the edges of the chipboard to give it a well worn look. Finally I add a coat of Crackle Varnish.
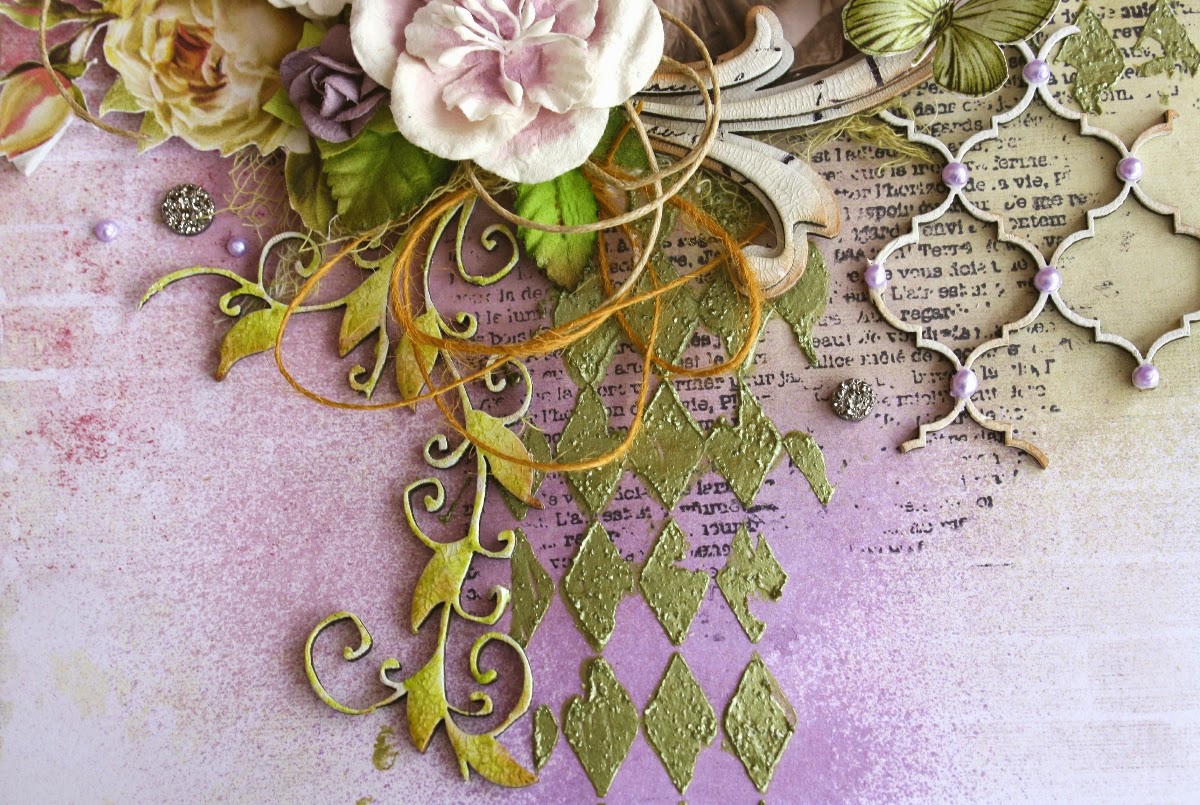
And I don’t want to forget to talk about the yummy tinted texture paste used here, it’s the gorgeous green color of Texturez called ‘Artichoked’. I used this with a Tim Holtz Harlequin stencil, I think it adds a nice festive touch, don’t you?
I hope you enjoyed today’s project, I had a LOT of fun making it!
Thanks for stopping by the Dusty Attic Blog today, visit us often for daily inspiration from our creative design team! xo
2 thoughts on “Forever – Gabrielle with a Video Tutorial”
Comments are closed.
Absolutely beautiful, loved the video too!
I'm always fascinated by your process. Loved watching this! Absolutely gorgeous layout!