Blog
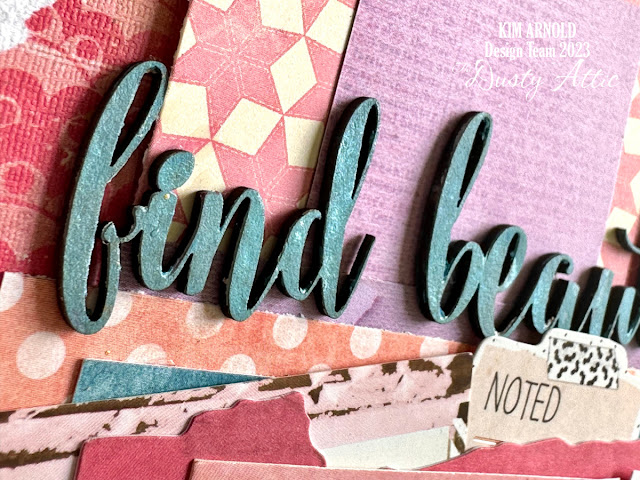
Find beauty in the everyday – Kim Arnold – Video Tutorial

Hi everyone!
Some inspiration using the beautiful February moodboard.


I was totally inspired by the colour palette of the moodboard – but I did add some gold in which I felt worked well with the sunrise image. I pulled a heap of papers and embellishments in the colours and then selected my Dusty Attic chipboard and coloured it to match. I will take you through what chipboard I used and what techniques I applied.

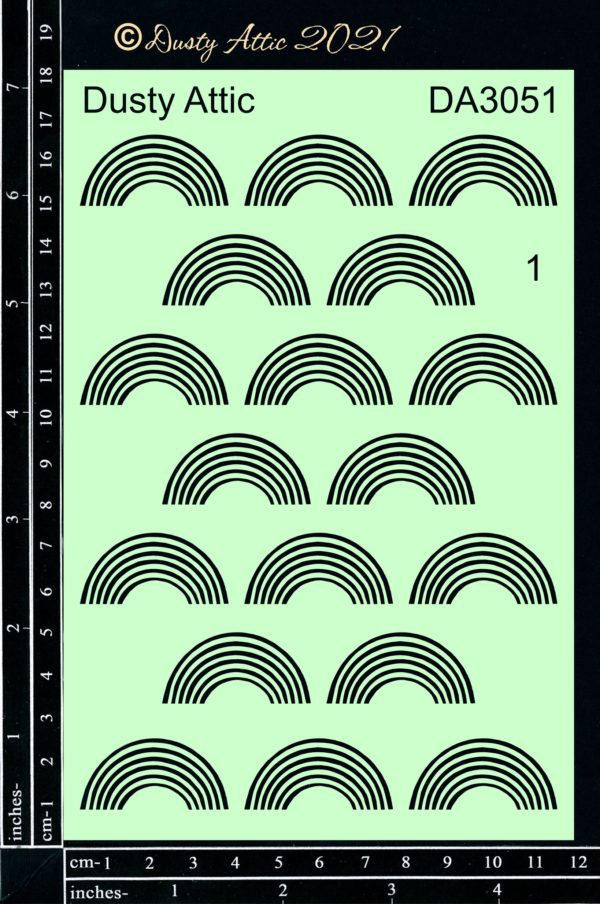
I started with the background so that it could dry. I used a heavy weight mixed media cardstock and painted it with blue watercolour. Once that was dry, I used the Rainbow stencil and inked with oxide inks and a sponge over the watercolour.
With the title, I coloured the cursive part of the title in matt blue wax and then added an opal wax over it to give it some shine.
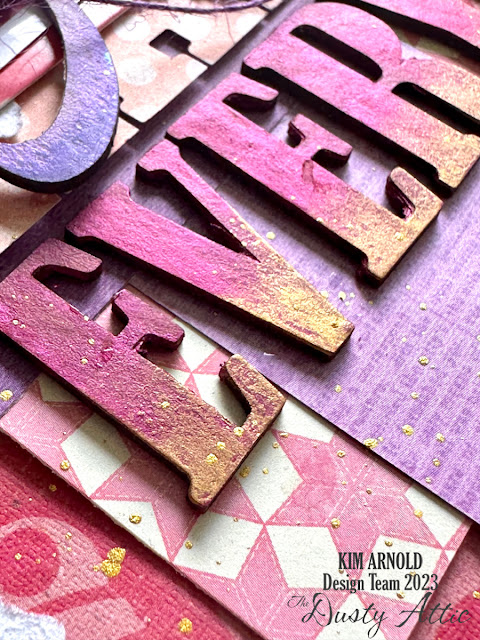
For the word “EVERYDAY” I used a plum wax, and once that was dry, I dabbed gold wax on the bottom half of the letters to give an ombre effect.

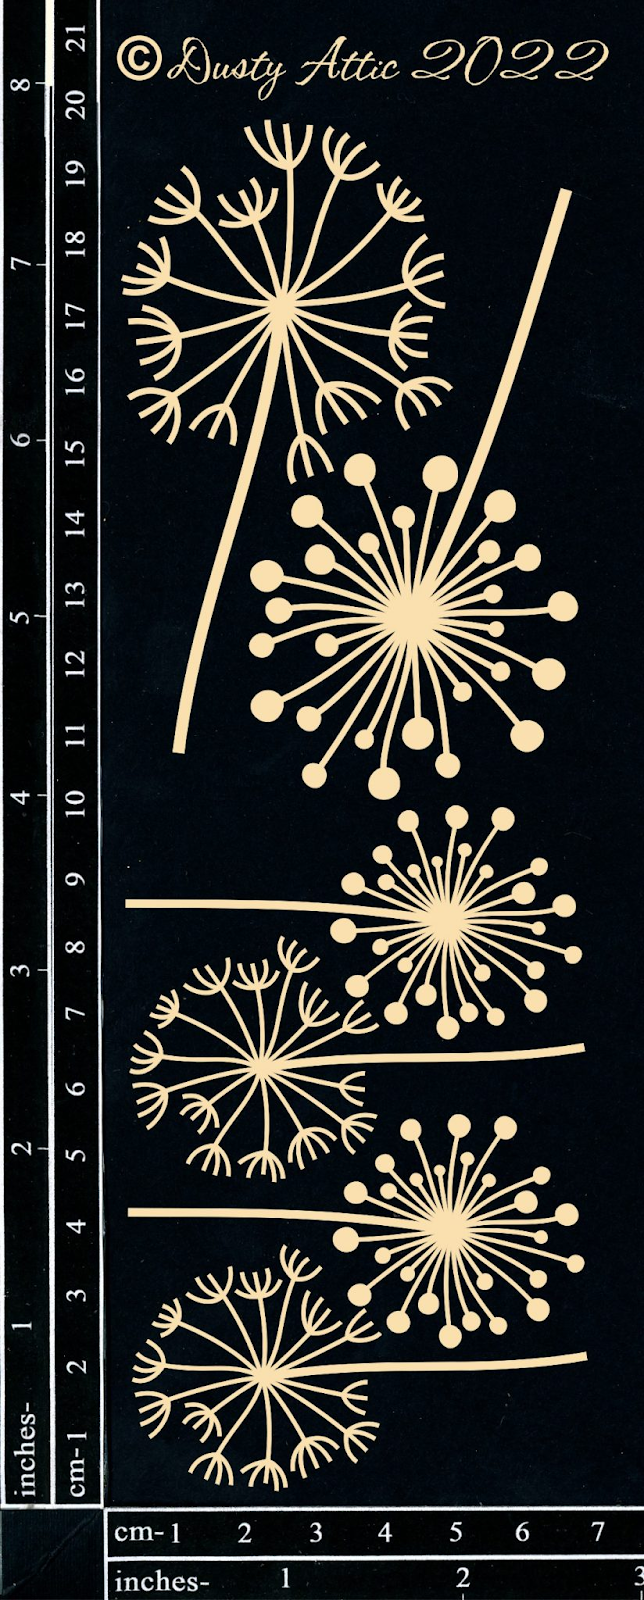
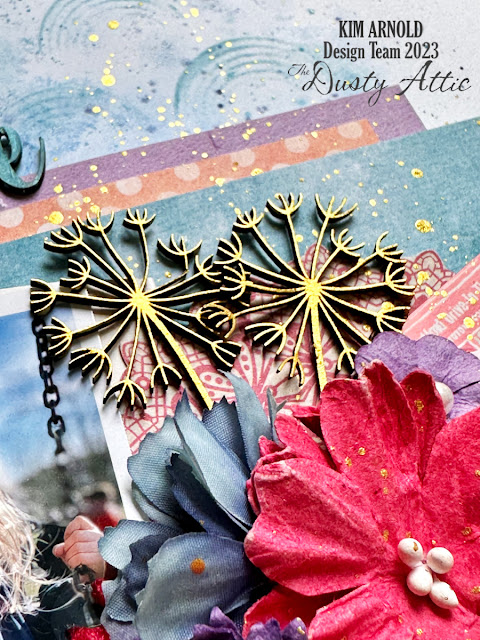
I then painted the dandelions with gold ink. I use Kuretake Brilliant Gold Mica Ink which works so well on raw chipboard to give an incredible gold finish in one coat. I used one large and two small dandelions.
For the Scrolls, I wanted to do another ombre effect, but in purple, so I used three different purple waxes to go from a light to dark purple.


I then layered the chipboard under and on top of the various elements that I used on the layout.

There is a process video if you would like to see exactly how I made this layout:
I hope you have a chance to get some creative time in soon.
Happy scrapping
Kim x

Dusty attic products:
Find Beauty In The Everyday – Dusty Attic – Australian owned and operated Laser Cutting business
Dandelions – Dusty Attic – Australian owned and operated Laser Cutting business
Scroll Set #2 – Dusty Attic – Australian owned and operated Laser Cutting business
Rainbow #1 Stencil – Dusty Attic – Australian owned and operated Laser Cutting business