Blog
XVI – Tina Ollett
Hello and welcome Dusty Atttic friends. I hope this post today finds you happy and well. I am back today to share my moodboard inspired project with you. The challenge is open until the end of the month of November. All you need do is to create a little something using Dusty Attic products which has been inspired by the Dusty Attic Moodboard for this month. I have shared the moodboard for you below if you have already not seen it.
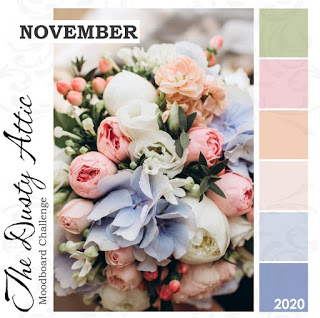
I feel that this is one of my most favourites of the moodboards for the year. And although this soft palette was where I started it isn’t exactly where I ended up. And I think this is definitely what happens to me a lot. And I get asked often why my projet does not always reflect the moodboard. I feel it is a very personal thing. What one may see another may skip over. And although I love the softness of this moodboard somehow my project became a little deeper in colour. But all the same I was very happy with the outcome.
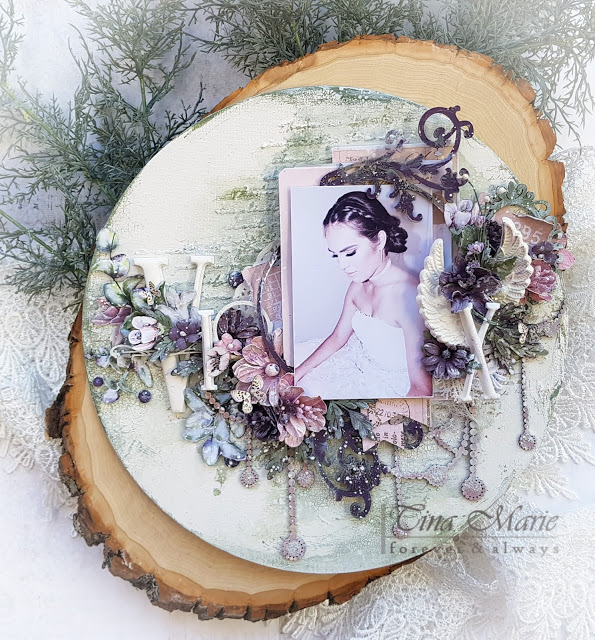
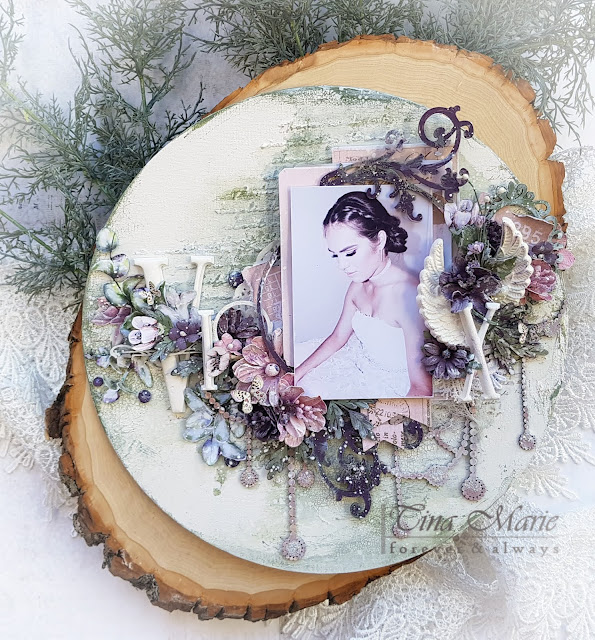
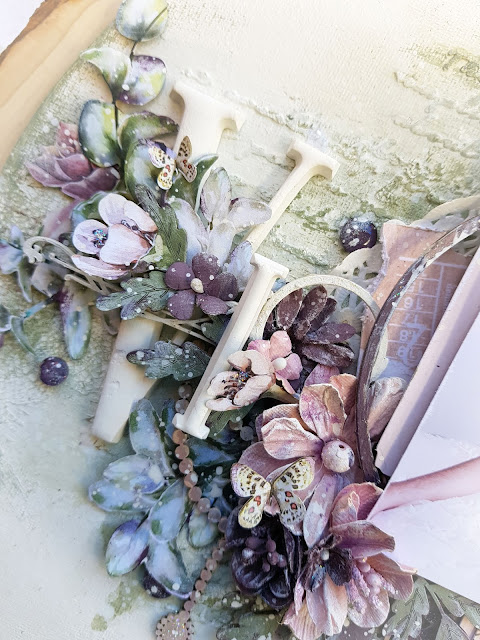
I started out with a round 12 inch canvas which I primed with white gesso just to give it a stark white crisp colour to start off with. I then created some texture using the Dusty Attic Creative Script stencil along with Tim Holtz’s Distress Texture Paste and embossing powder. I also gave the background a little colour using chalk paint in the colour of Minnesota Pines. I also added in some white Crackle Texture paste and splatters of Dylusion Ink spray in Linen.
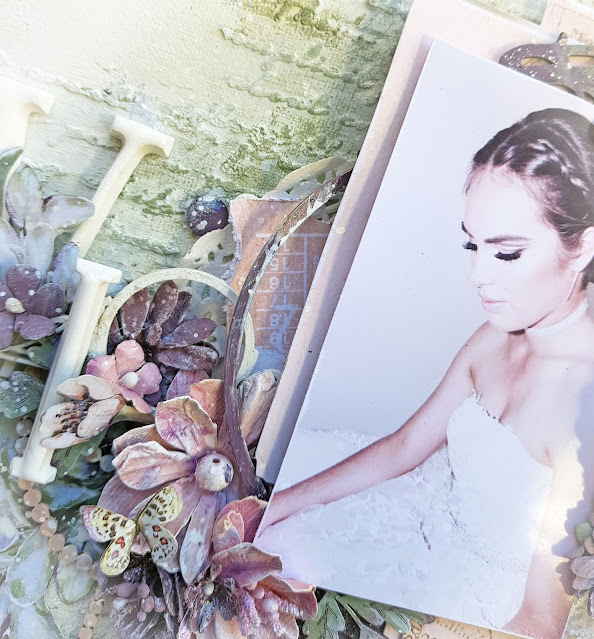
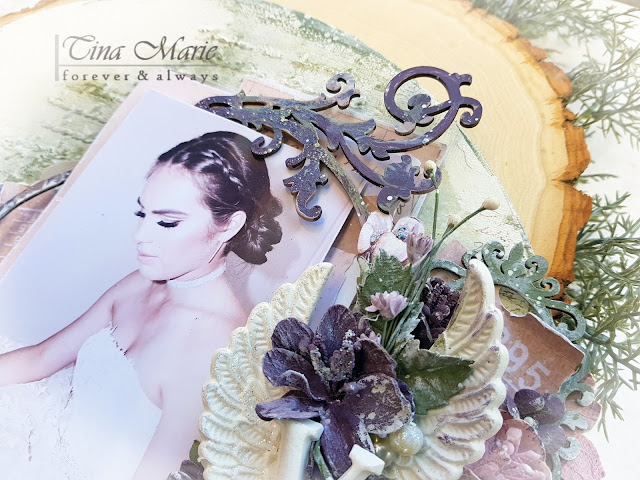
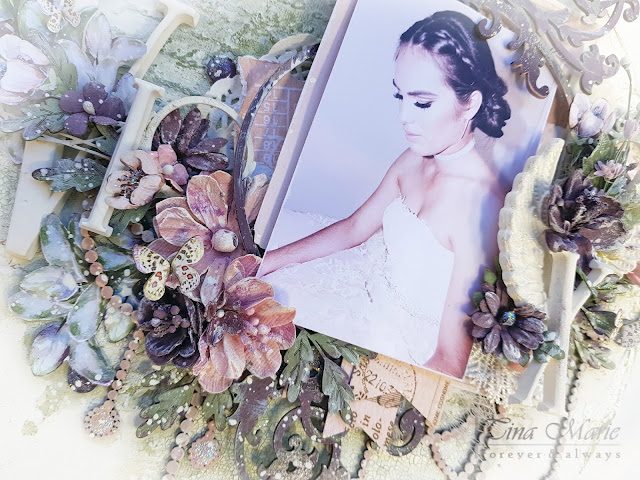
I printed off my photo of my eldest daughter in a low key colour which bought out the apricot of her gorgeous dress she was wearing. I layered the photo up on pieces from 49andMarket’s Coral Collage Stacks. Once these were all adhered together I coloured my first piece of Dusty Attic chipboard being the Decorative Frame #5.

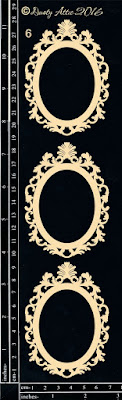
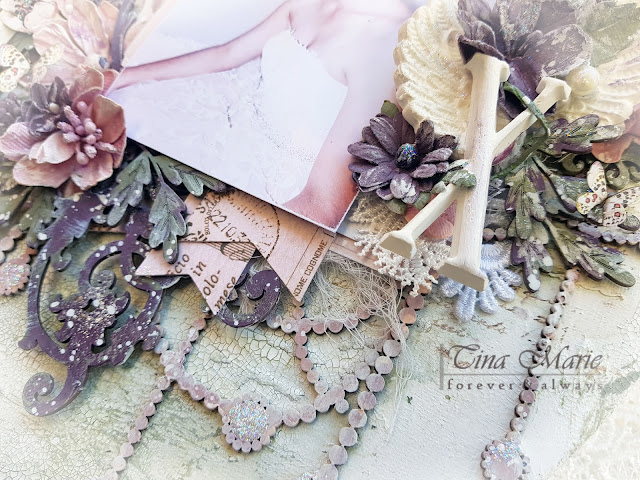
I coloured this gorgeous frame with Roman Purple chalk paint and sprinkled it while it was still wet with some Shabby Pink Embossing Enamel and then heat set it. I also added a little of the Minnesota Pines chalk paint to the edges of the chipboard too. I cut the piece in half and layered over the top and at the base of my photo.
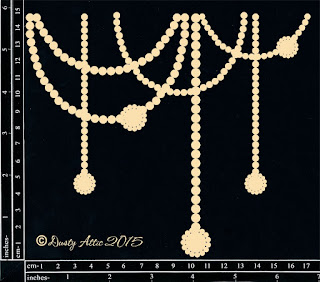
My next piece of chipboard to use was the Elegant Pearls. I have used two packs of this piece as I wanted to have more pendants to hang from the base of the photo. These pieces were dressed in chalk paints in varying colours starting off with a Mystic Shadow and then some drybrushing of Desert Warmth which is a softer shade of apricot. I cut the pieces and spread them out as you can see.

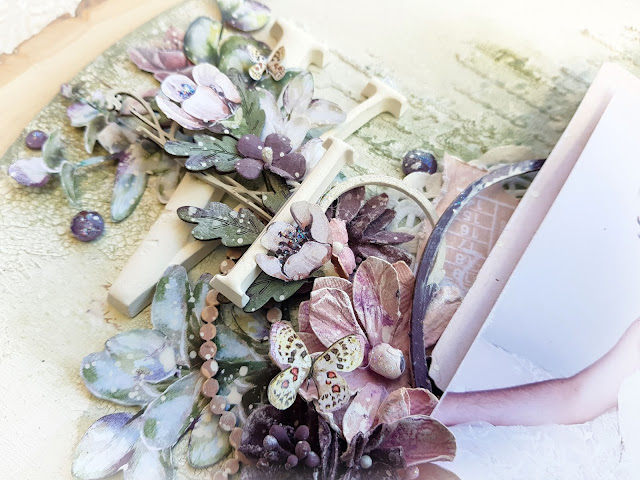
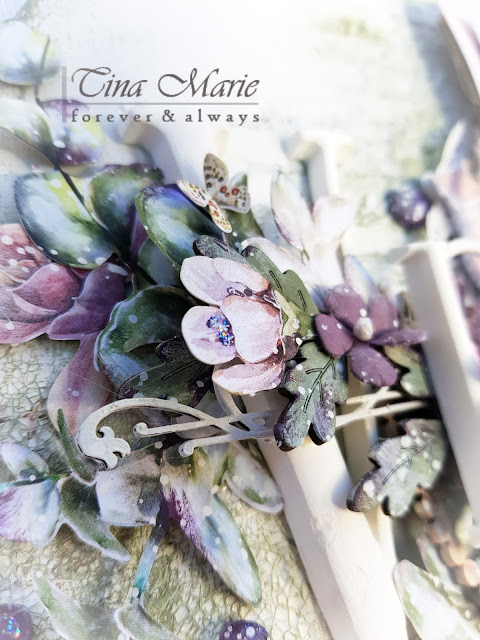
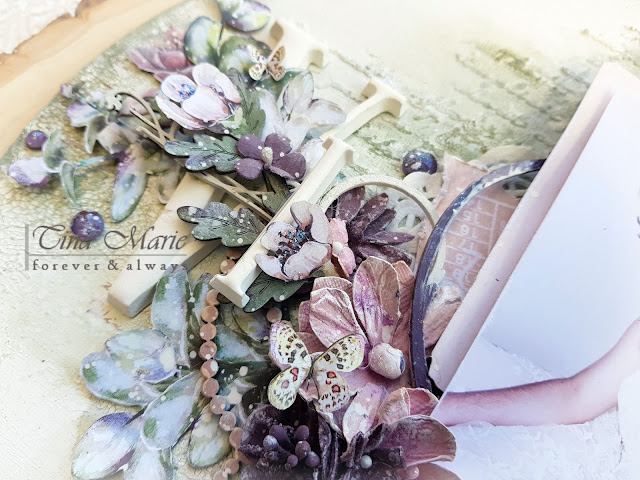
Above you will see a new release piece of chipboard from the Dusty Attic. Oh I really love this new foliage piece. I have used nearly a half of the sheet of this for my project.

The Foliage #27 was coloured again using chalk paints in the Minnesota Pines and Roman Purple along with a splashing of white gesso to help the colours pop a little more.

You will also see below that I have added in a ATC frame. I used one from the #6 pack which is super pretty. This I coloured in the green chalk paint and added over some Dusty Attic Varnish Crackle.
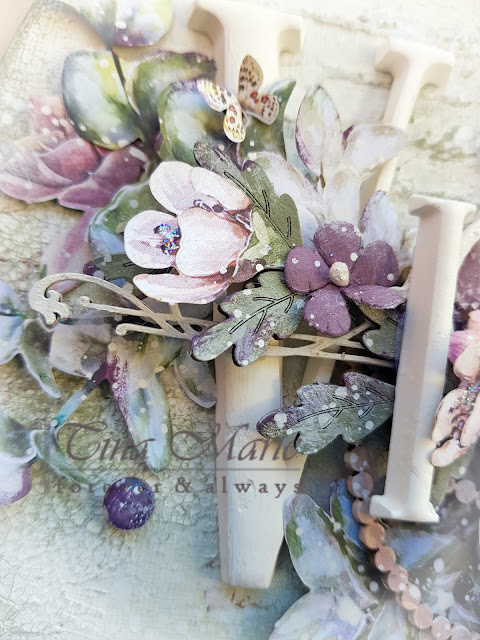
Below you can see the Dusty Attic piece the Decorative Frame #1. I have used the smaller piece from this pack to give my project some more layers. This piece was dressed in white gesso. You will see that I have made more layers around it using the roman numeral moulds and also some laser cut elements from 49andMarket. I added in some touches of the Roman Purple to the edges of the laser cuts to bring all the colours together.

Finishing off my project I added in some more splashes of the Dylusions Linen and I coloured the backs of some Melange pebbles from Prima Marketing with the Roman Purple Chalk Paint. Over the top of my laser cuts and other elements I added in some shimmer using Star Dust Stickles.


Well that is all from me today. I hope I have helped with some small piece of inspiration to inspire you to play along with this month’s Moodboard Challenge. Happy Creating.
Tina xx
