Good morning
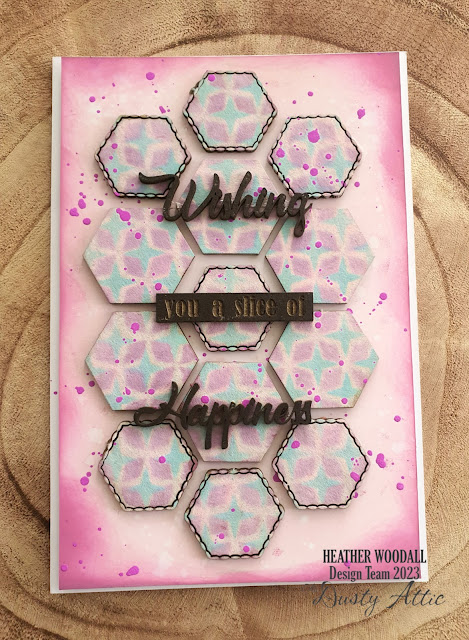
This month I am playing with layering stencils with my oxide inks, both on cardstock and on chipboard
The first project is a card.

I have very simply inked the back of the card with a soft pink oxide ink and done a little bit of water splattering to give some texture.
I have then applied the same oxide ink colour to my hexagon chipboard pieces. DA3319 Haxagons #1 – https://dustyattic.com.au/product/hexagons-1/

I have then stuck them to the front of my card using clear drying glue.
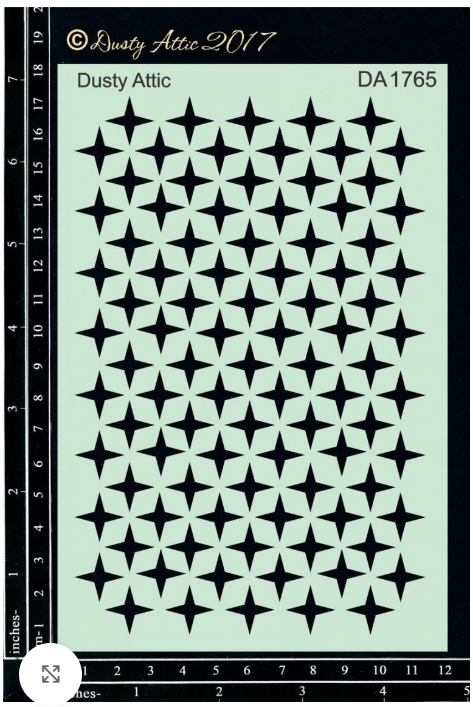
Once dry I used a raspberry oxide ink and stencil DA1766 Mosaic – https://dustyattic.com.au/product/mosaic-stencil/ – and a blending tool to add this to the chipboard hexagon pieces


I then used a turquoise green oxide ink, my blending tool and stencil DA1766 Geo Star Stencil – https://dustyattic.com.au/product/geo-star-stencil/ – and laid it over the top of the other one until this stencil masked out the previous so that the star would fit in between the previous pattern.
I then added some fluro purple chalk pen splatter.
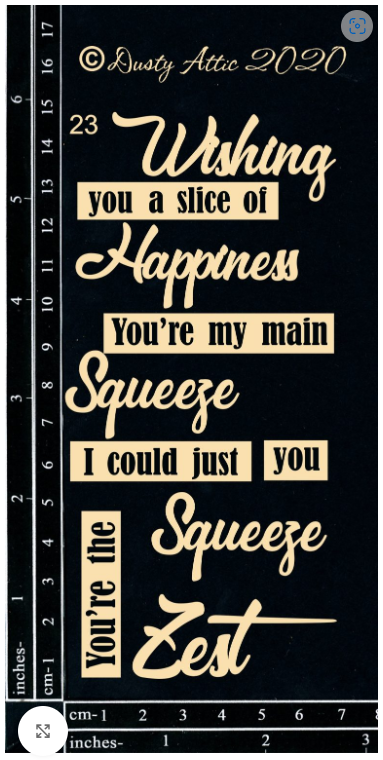
To finish it off I used one of the titles from DA2761 Mini Caption #23 – Citrus – https://dustyattic.com.au/product/mini-caption-23-citrus/ – which I have just very simply inked in black in and attach to my card using clear drying glue.

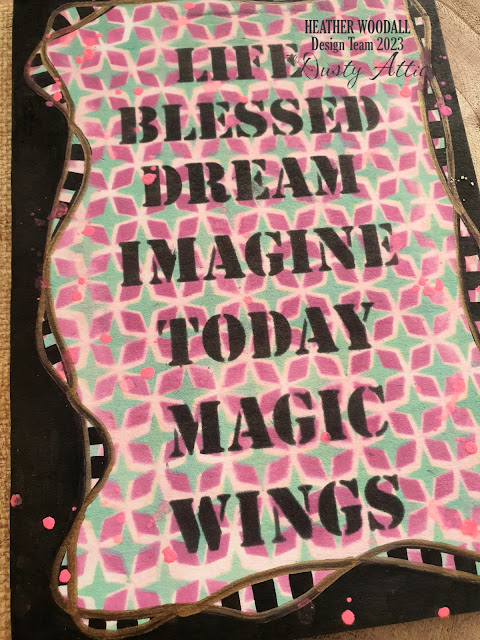
My second project is just a quick journal page (again inspired by Tracy Scott ideas and projects) using the same stencils and the same ink colours.
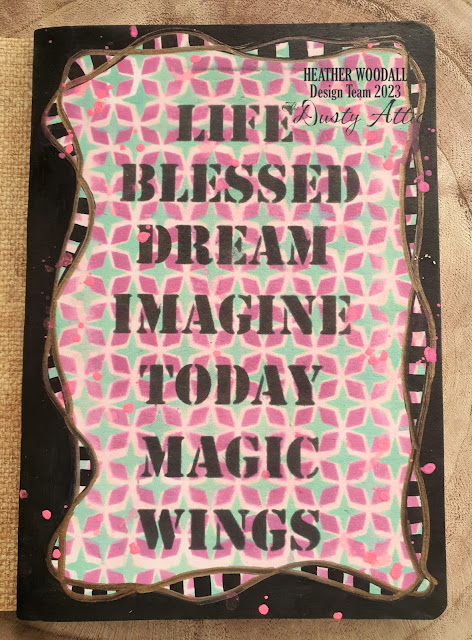
This time I finished it off using DA1634 Wise Words Stencil #9 – https://dustyattic.com.au/product/wise-words-stencil-9/ – just using a black oxide ink so that it popped on my page.

The border was simply done with a black marker and highlighted with a copper marker. And of course, some hot pink splatter.
All of the chipboard pieces and stencils can be found and purchased on the Dusty Attic website, https://dustyattic.com.au/
Thank you Heather


