Blog
Journey – Kim Arnold
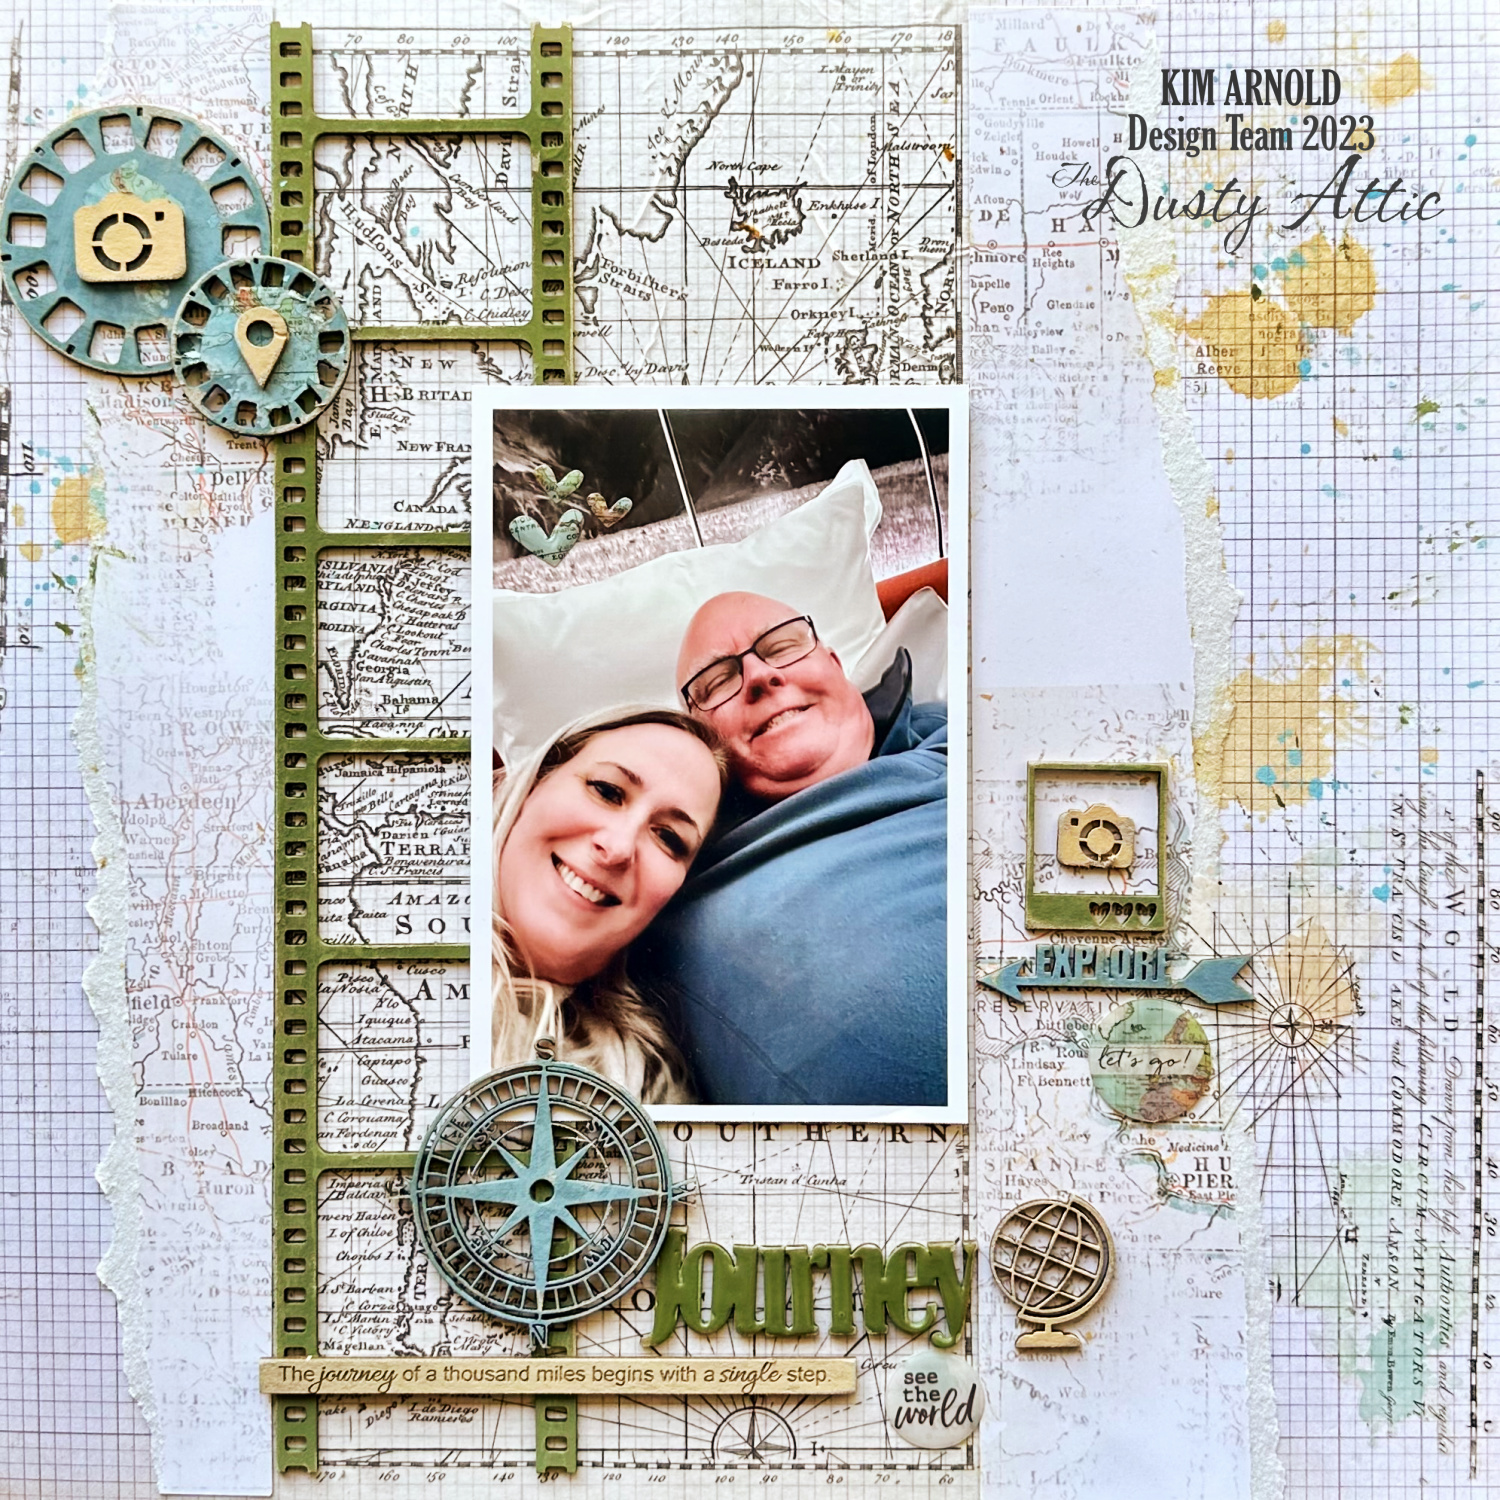
Hi everyone! I have some travel inspiration for you today. My husband and I recently spent two months in the UK and Europe and this photo is from our first night of our journey which we spent at an airport hotel waiting for our very early morning flight to London. What better way to record this photo than with the Dusty Attic travel themed chipboard.

I have made this layout using the amazing Journey Custom Mixed Chipboard sheet which has so many perfect travel embellishments along with a title and phrase strip. I used just about everything off the sheet and I will walk you through the techniques I applied to each of the elements.

Custom Mixed Chipboard #16

I chose a palette of blues, greens and beige, pulling out the colours that were in the background papers and rubons. For the journey title, polaroid frame and photo negative strip, I painted them an army green and then sanded to distress them once the paint was dry.

To make the title pop, I covered it in dimensional magic.

I painted the reels and compass blue. I then added rubons to the centers of the reels before distressing all of these elements with sanding. I painted the place marker and larger camera beige and then sanded them and then layered them over the centre of the reels.

The phrase strip, globe and smaller camera beige and then distressed them by sanding then edges. I love the worn effect that the sanding gives to all of the elements – it softens the finish and allows the colour of the chipboard to show through.

For the explore arrow, I initially painted it green but didn’t like it. So I repainted it blue and when I sanded it I love how the green peeps through along with the natural chipboard colour.
I absolutely love how this layout turned out and it is going to be the perfect opening layout for my album recording our travels.
I hope you have a chance to get some creative time in soon.
Happy scrapping
Kim x

Dusty attic products: