Blog
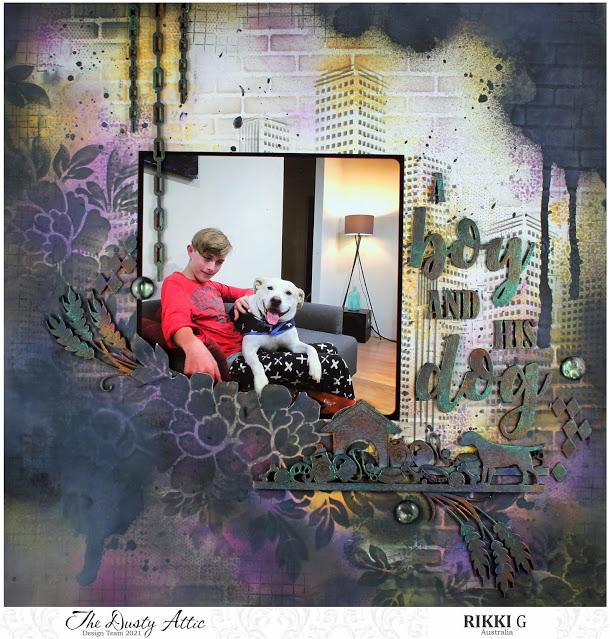
A boy and his dog – Rikki G

Good morning how are you? Rikki here today with some grungy, stencil based inspiration for you so why dont you grab your stencils and give it a go.
One of my favourite things to do is to get a little bit messy with my pages and what better than that right? Sometimes its a little hard to start, it depends on my mood really, this is where stencils are a perfect starting point…… and that doesn’t mean grab the texture paste…. especially if your time poor or your just too impatient to let things dry.

To start off grab a couple of stencils I have used Dusty Attics Floral Stencil, Cityscape Stencil, Brick Wall Stencil.
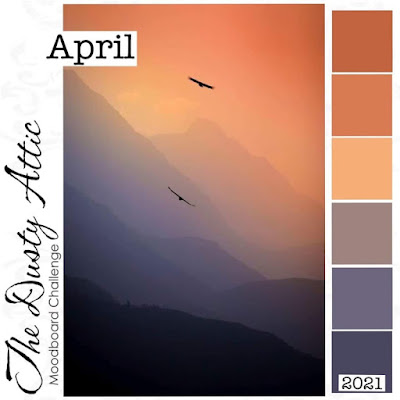
I started off with the Brick Wall stencil and I used this months mood board for my colour inspiration….

Using Tim Holtz Oxides – Wild Honey, Seedless Preserves, Wilted Violet and Black Soot.

So I started off by adding pockets of colour on my background, once that was done I went in with the Brick wall Stencil, just in small areas alternating between the three colours, but doing it lightly it allows you to see and add other stencils, like the Cityscape with the Black Soot ink.
To get my city skyline I just moved the stencil across the page- then I realised I needed a bit more height to the city because the photo was going to over it all….. so with a little bit of manipulation I just selected and inked one building at a time.

Once the City is in place you can go back over the top with the Brickwall Stencil and start to darken up your colours. This is also the perfect time to introduce more Black Soot to your background with some background stamps.

With the Floral Stencil, I used only Black Soot, the joy of the oxides are they allow a transparent look without overwhelming the page so you can see the colours underneath and when they dry you can see all your layers without it turning to a bad brown colour.

I wanted to make my Cityscape background to look a bit like a graffiti wall so I just used a black mist and ran it down the corners, and a very cool effect happens where the oxide is placed its has a little resistance so you can see the all the details of the stencils.


Initially I started with the chipboard only being in Black Soot ink but when placed on the background it was lost…..so with my waxes I added the orange and purple on them and used a peacock coloured wax for a highlight and contrast colour.


I hope this has inspired you to go and play with your Dusty Attic Stencils, if you give it a go dont forget to share with us on the Dusty FANattics Facebook page HERE .
And while your at it why dont your enter this months Mood Board Challenge?
We would love to see your take on our moodboard. Don’t forget to share your projects on our Facebook page. Why not enter the Mood Board challenge yourself?
All you need to do is add your take of the challenge into the comments section on the Dusty FANattics Facebook page HERE for your chance to win one of two amazing $50 Credits to choose any.
Good Luck and have fun creating.

Floral Stencil

Cityscape Stencil

Brick Wall Stencil

Dog Border

A Boy and His Dog

