Blog
Merry Christmas – Tina Ollett
Hello and welcome Dusty friends.
Well I am sure that we are all feeling it ….. the festive season, it’s already upon us. We here in Australia have been seeing it in the shops for the past month already. So I thought it only fitting also since I received two fabulous goodies boxes last week one from Miss Jennifer Hedger containing the most gorgeous of all chipboards ever the New Releases for October.
So here it is……
“Merry Christmas”
I have used this gorgeous photo of my two eldest from a Christmas a long time ago. These two have now graduated school and are out in the big old world doing their own things. So when I think of Christmas these days, I always seem to revert back to when the kids were much younger. Back when I use to dress them up and make them sit for an hour to get that one photo to put on the front of the yearly letter to all those that we would send out Christmas cards too. My poor kids. Well they survived all those Christmas photos, but lets just say these days it is a rare occasion to get a photo of them together at all on Christmas Day.
So about the layout. …….. My second goodies box that I received last week was the new release papers from 49andMarket and they were of course a Christmas collection.
So that is where I started with the cutting and framing and layering of my new release 49andMarket papers. I then went on to do some stencilling. The background of these papers are just gorgeous but I thought it best to change up the snowflakes to stars since it is a very rare occurence that we would see snow here in sunny Queensland. I used some paper texture paste through the Dusty Attic Starry Night Stencil. This really has to be a favourite stencil. I have used it a number of times and it really is the perfect stencil to add softness to a layout.
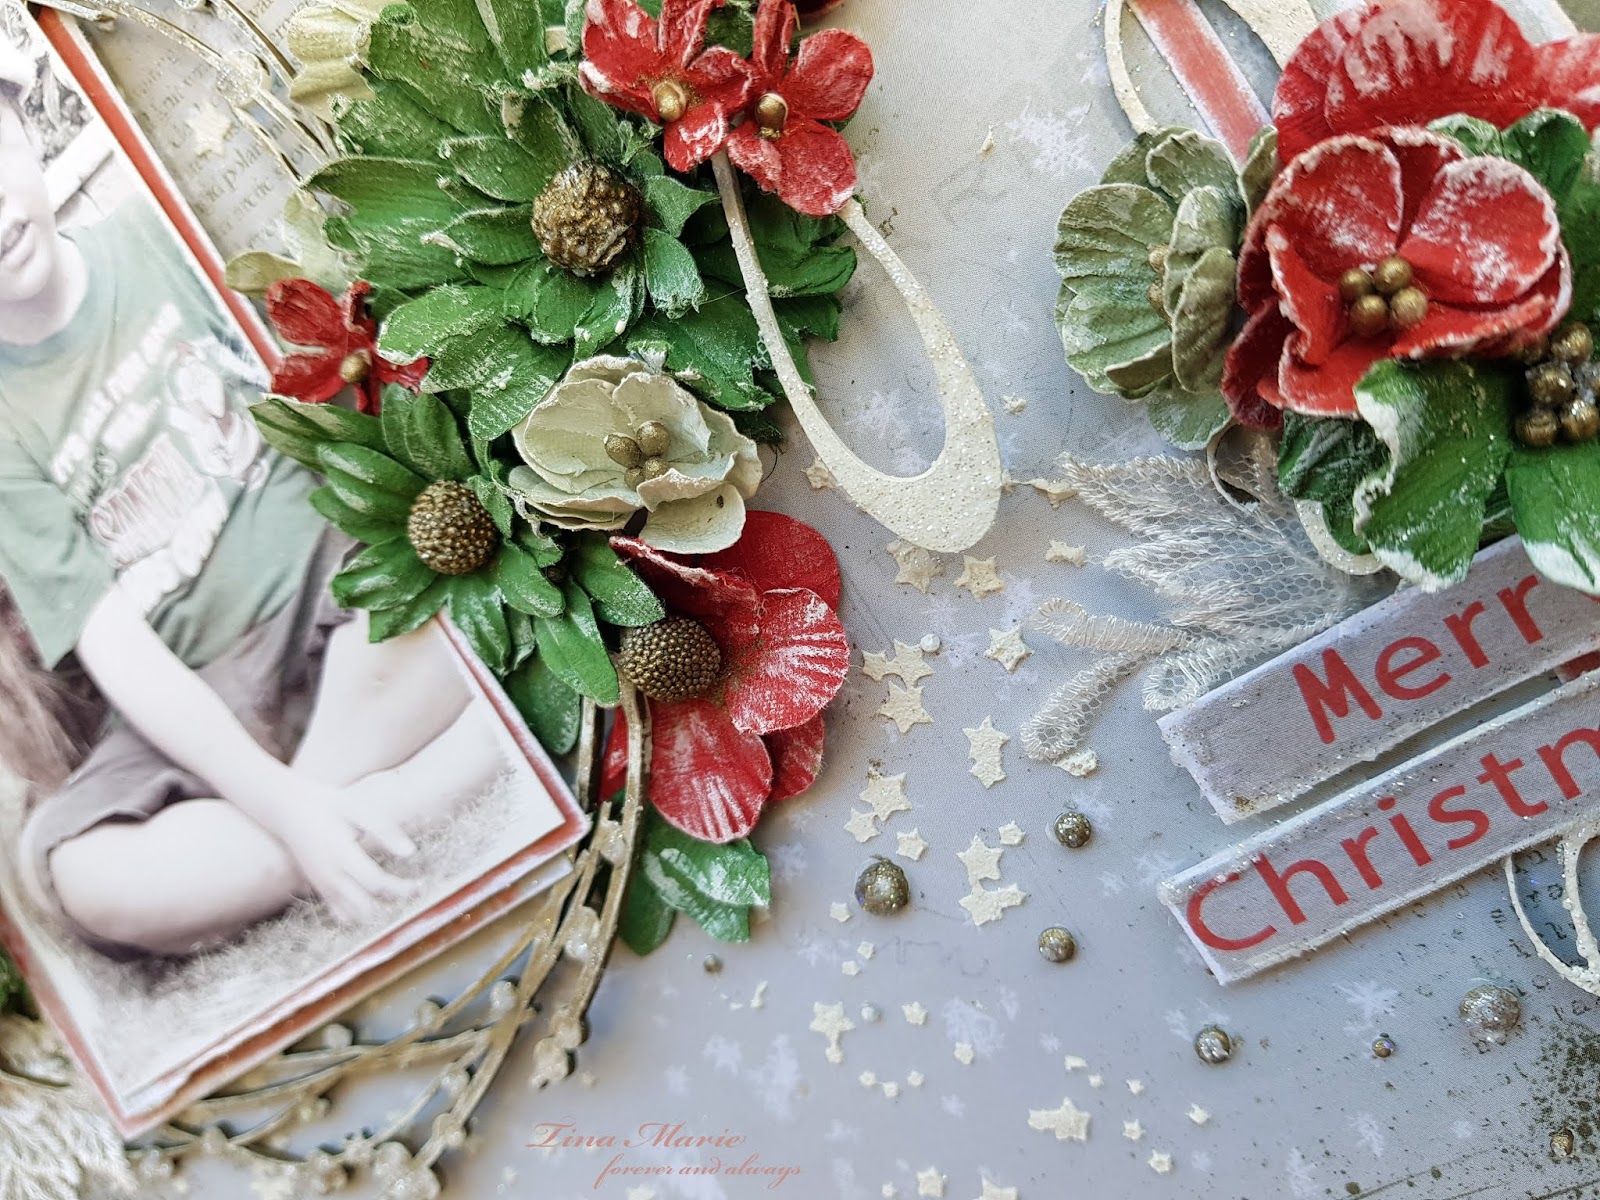
I then went on to add the matting and photo which I decided to photoshop a little. The kids clothing was very very bright and I felt it didn’t grab you when you looked at it. I then added in my flowers and dusted them a little with white gesso and some Star Dust Stickles to make them sparkle. I also added some of the Star Dust Stickles over the top of the textured stars when they were dried. I have also change the centres of the flowers with gold. You can see below.
I also used some of the Dusty Attic Rhinestones and changed them up a little as you can see above. I added them firstly to the layout then gave them a couple of coats of white gesso. Once dry I add some gold over the top. And then once that dried I added over some Star Dust Stickles to make them shine too.
The Cosmic Swirl that you see above was firstly dressed in white gesso. Once it was absolutely dried I swiped over the frame with a gold acrylic paint. Any unwanted areas I just wiped away. I did this a few times until I got the depth of the colour where I wanted it. Once this dried I then added in some Star Dust Stickles to make it shine once again.
The reindeer you can see above was primed with white gesso and coloured with gold Acrylic paint. I did swipe some white gesso back over it at the end as it was quite stark.
And this gorgeous Scroll Set I used to start and end the embellishment of my flowers. They are just gorgeous little adds to a Christmas layout I think. These I dressed in white acrylic and I added a very thick layer of Star Dust Stickles so they poppped. You can also see that I have added in a little lace just to soften the layout some more.
Well that is all from me today! I hope you have enjoyed my first festive layout.
Until next time take care and happy scrapping.
Tina x
One thought on “Merry Christmas – Tina Ollett”
Comments are closed.


Thanks for sharing! ❤❤❤ Merry Christmas Messages for Kids